
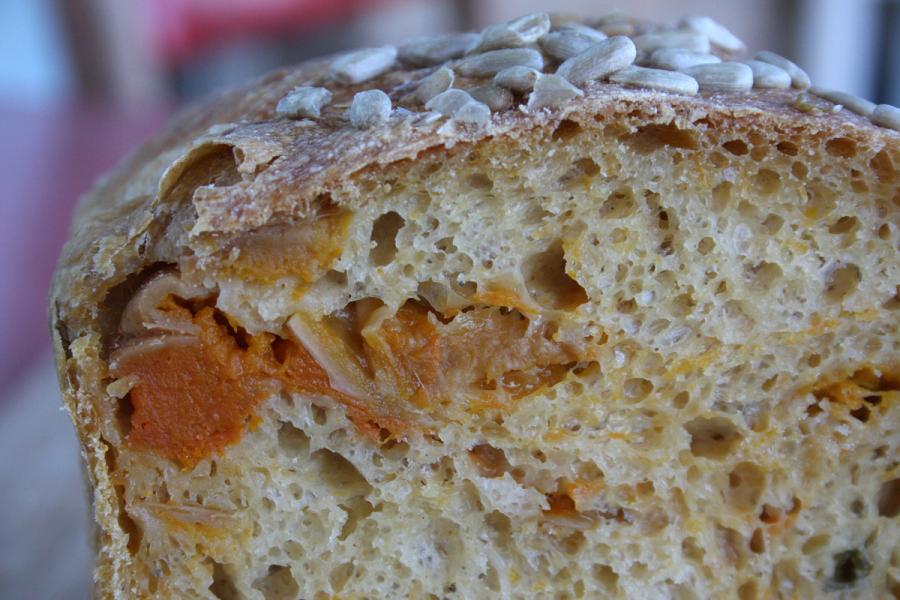
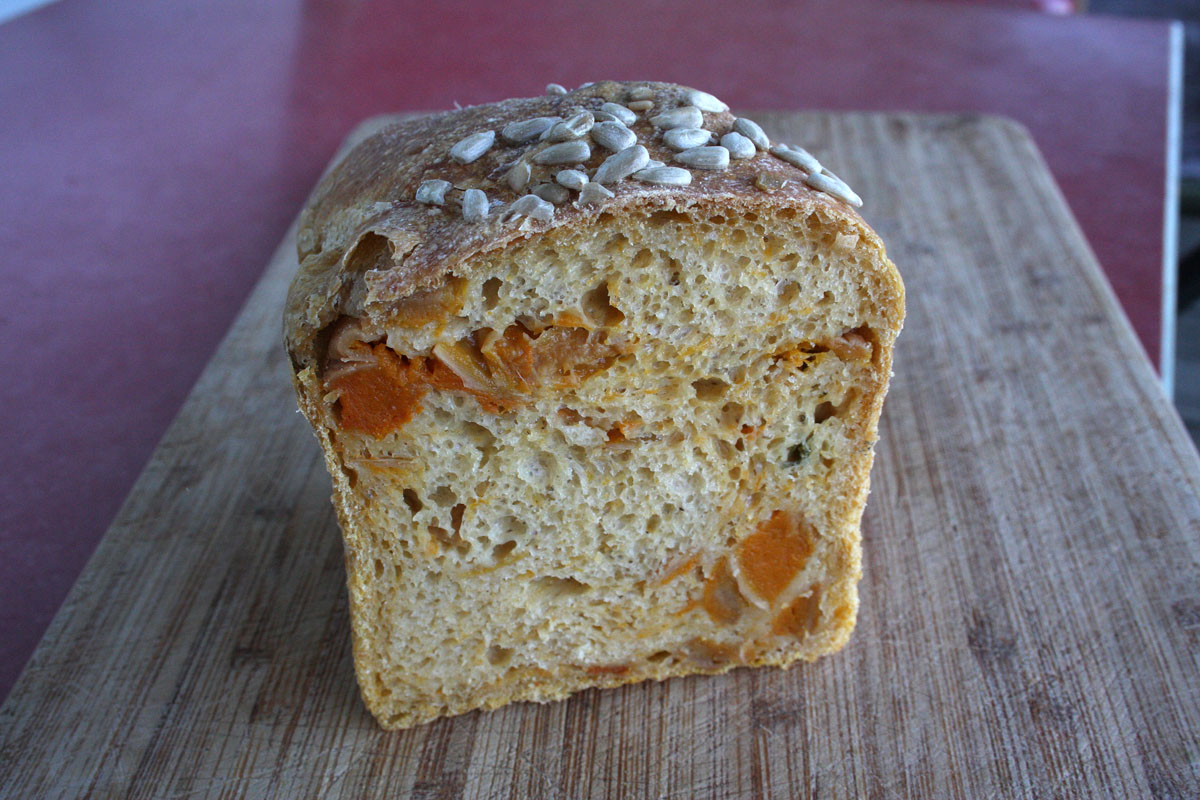

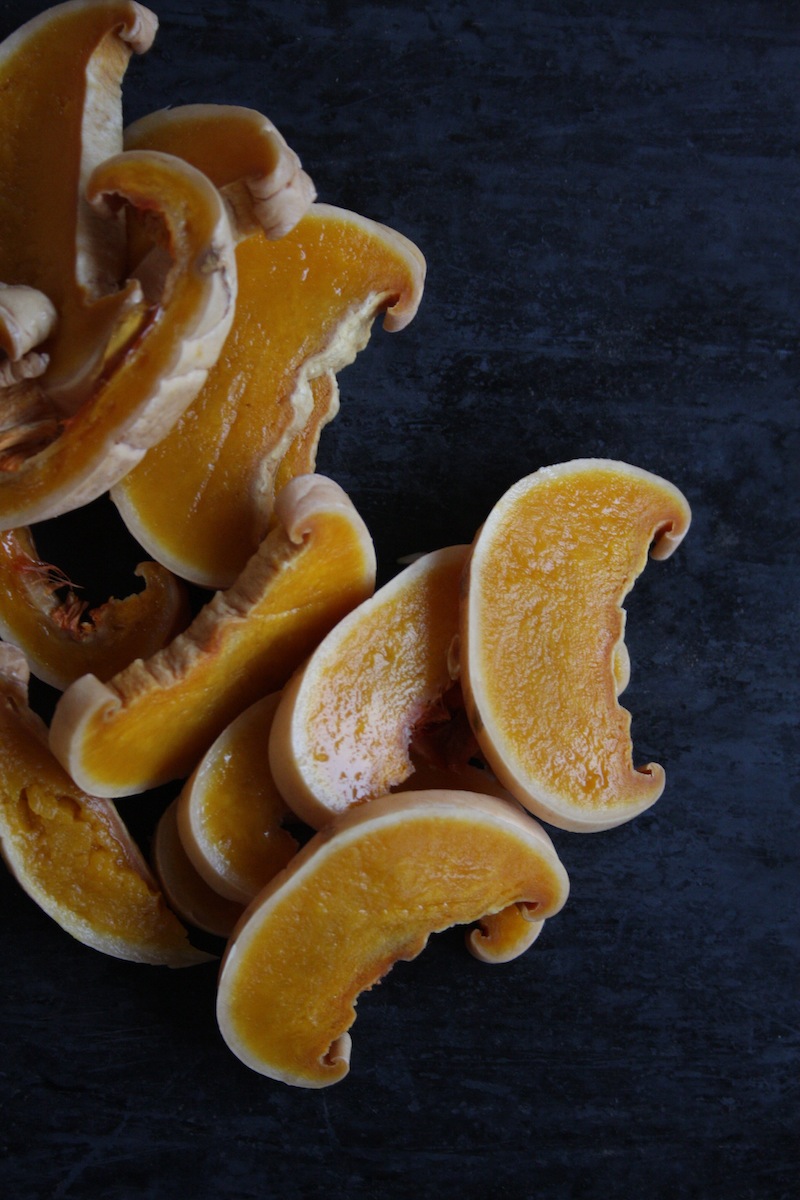
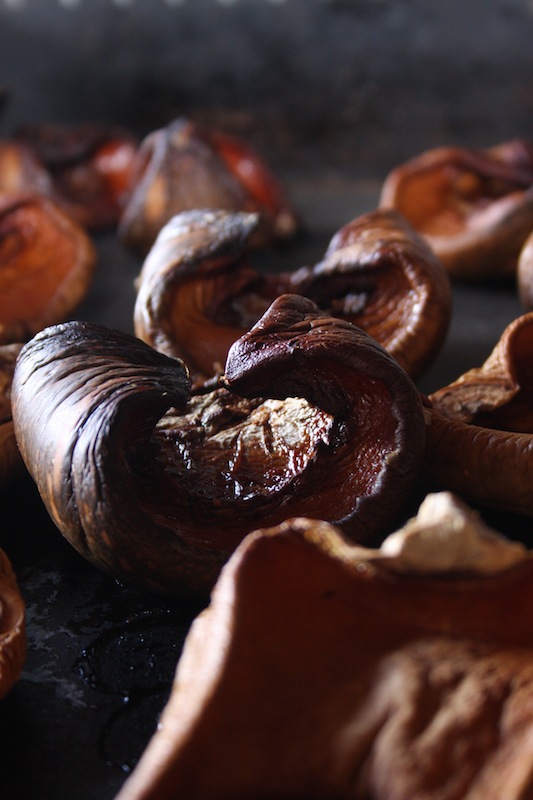
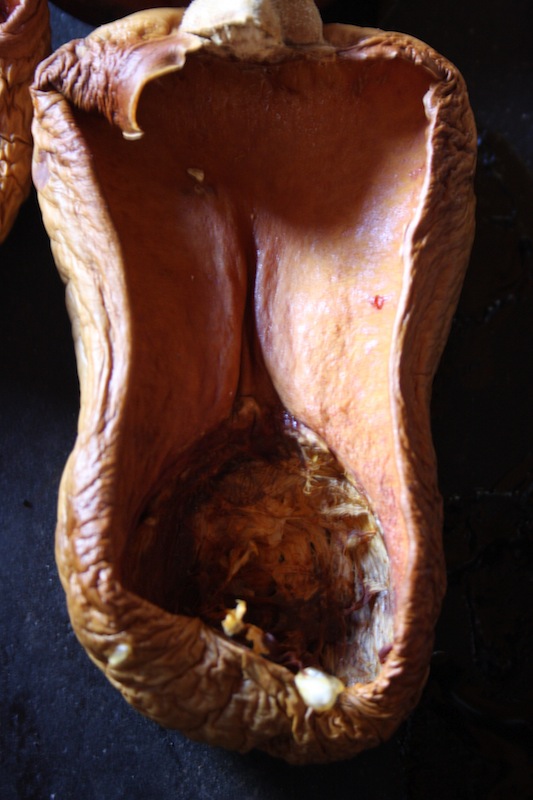
Roasted Pumpkin is a beautiful, naturally sweet bread that we make at Companion Bakery. Much of the natural sugars coming from the slow roast of pumpkin. We roast the pumpkin in our wood-fired oven at a low heat (50C to 100C) for 24 - 36 hours. At the low temperatures the pumpkin malts, which firms and helps keep the pumpkin from falling apart in the dough.
The Dough
| Ingredient | Metric | Imperial | Baker's Percentage |
|---|---|---|---|
| Flour | 650 grams | 22.95 oz | 100.00% |
| Maize meal soaker (wet) | 50 grams | 1.77 oz | 7.69% |
| Pumpkin - baked and sliced | 200 grams | 7.06 oz | 30.77% |
| Pumpkin - steamed | 100 grams | 3.53 oz | 15.38% |
| Salt - includes all added salt (inc. tomato paste if used) | 15 grams | 0.53 oz | 2.31% |
| Tomato Paste | 3 grams | 0.11 oz | 0.46% |
| Water - includes water in steamed pumpkin | 450 grams | 15.89 oz | 69.23% |
| Starter | 200 grams | 7.06 oz | 30.77% |
- Total Flour Weight:
- 650 grams
Percentages are relative to flour weight (flour equals 100%) and every other ingredient is a percentage of this. Flour from the starter is not counted. This recipe was originally in grams and has been automatically converted to other measures.
Starter
Use any wheat starter that you are happy with. I keep a piece of firm sourdough in a cool (5C to 14C) range for 2 days, and then use this to start a 2nd stage "active" starter for making bread dough. In contrast, stage 2 is well hydrated (around 100% to 125%) and warm (27C to 32C). This creates a lactic fermentation that is ready for use in about 4 to 5 hours.
My starter is generally organic wholewheat...I want at least some wholewheat in my doughs, and the starter is a good place to break it down and benefit fermentation from higher nutrient content.
Soaker
Maize meal works well in pumpkin bread, but not too much as it is overpowering. Soak for 12 - 24 hours, just like Reinhart says, and make sure your hands and utensils do not contain starter!
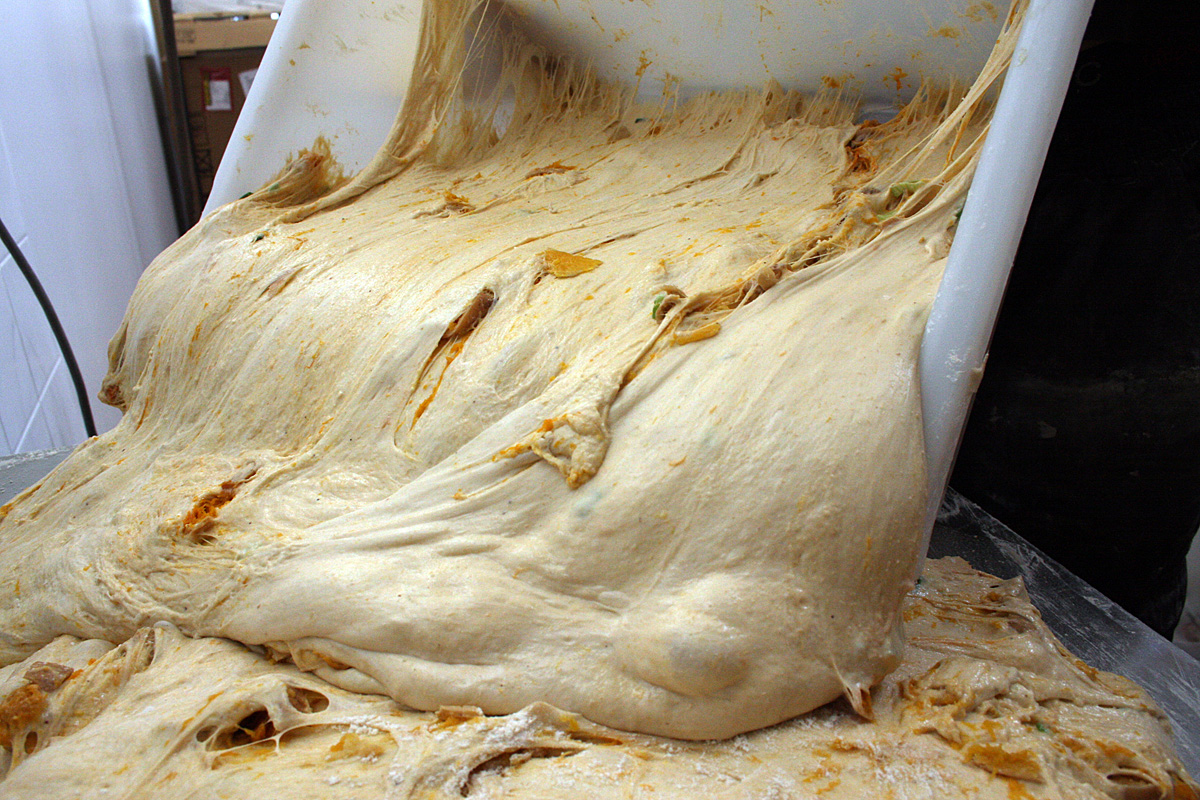
Dough
Steamed pumpkin is added to the dough towards the end of the mixing. I also add the cooled pot juices with their colour and flavour, and any herbs (rosemary, thyme), spices (nutmeg) and salt that were in the steamer. I'm currently using a strange 'rotating paddle' type mixer which does not work well with wet dough...it takes a long time to develop and builds up too much temperature over time.
To compensate, I make an initial stiff dough and add the pumpkin and juices in the last 3 or 4 minutes of mixing. You can add the steamed pumpkin and juices at a time that suits your mixing style. The final dough is slack. Currently I'm using sifted organic wheat flour from Wholegrain Milling and Kialla (Australia).
Roasted pumpkin (always butternut) has the rough bits removed and is roughly diced. It is added in the last 30 seconds to 1 minute of mixing. I frequently turn off the mixer and distribute the pumpkin through the dough by hand to avoid it being mashed...I want pieces!
Autolyse is used with all our doughs with the following variation: Crystal (coarse, wet and grey) salt is added to the water and dissolved to about 50%. The flour is added and mixed until evenly wet. This mixture is left for 20 - 30 minutes. Mixing commences again and the salt fully dissolves after about 3 minutes. Starter is added in the final 2-3 minutes of mixing....in this case with the steamed pumpkin.
Tomato paste: this is dangerous in the wrong hands. I add it only when the steamed pumpkin (usually Japanese variety) lacks colour. As you can see from the pics, the dough is full of pumpkin, the paste is not being used as a substitute for the real thing.
Bulk Proof
1 - 2 hours at 15 to 24C. Just until fine bubbles are noticed. There is definately no need for extended fermentation here.
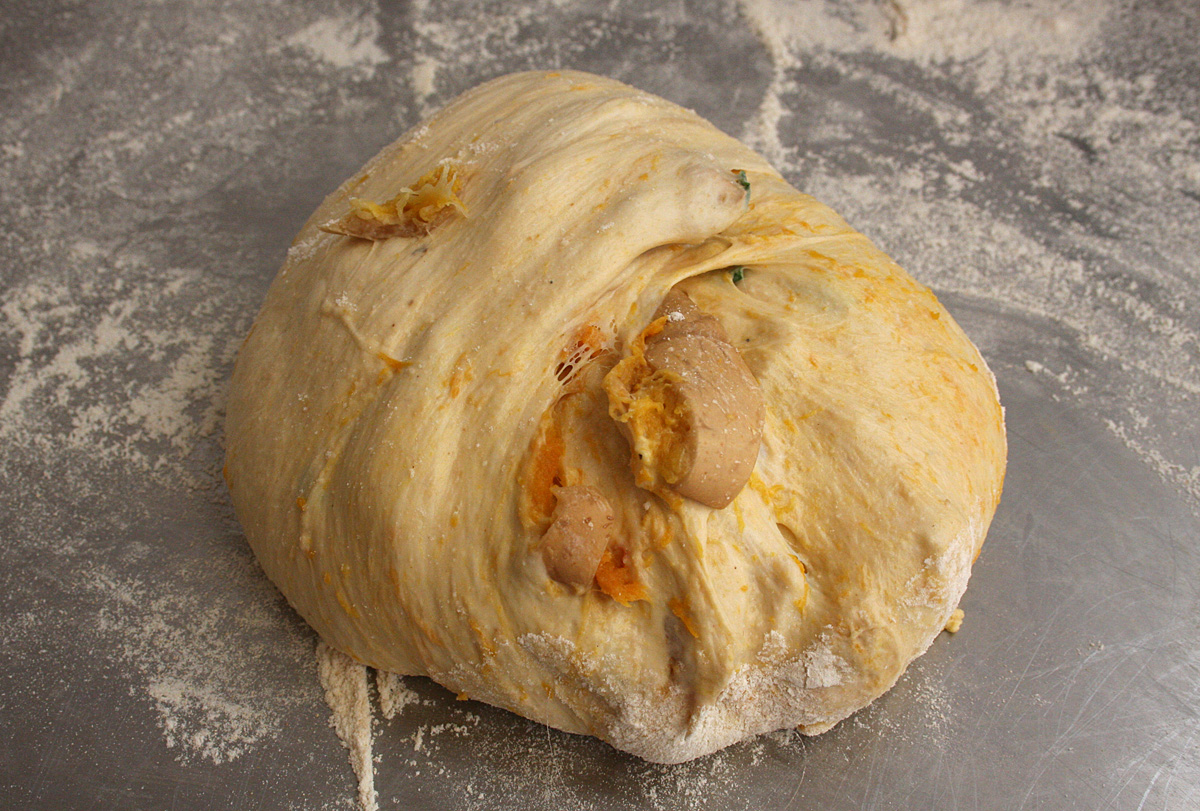
Balling
Optional. If the dough is very hard to handle (due to pumpkin pieces), don't ball, shape straight into tins or other forms. We scale ours at 850g.

Final Proving and Baking
Generally about 3 hours at around 20C. The finger impression test is used. I prefer a slow oven (190C to 220C) and therefore do not give an exhaustive final proof. There should still be a little "kick" left as the dough rebounds from your finger imprint. Note that our oven has solid heat from all directions (brick, woodfired) and this helps us to start the bake on lower temps (domestic ovens, particularly non-convection, may require higher starting temps).
At lower temps it can take an hour or so to bake this loaf. At higher temps (220C to 250C) 40 - 45 minutes may be sufficient...but it doesn't give the same integrity to this kind of bread as a longer, slower bake.
Note on Salt: Our salt is wet. The extra water means that it is not as salty as most commercial salt, so we add more to get the same saltyness. 1.8% in standard commercial salt is probably about 2.5% with our wet salt.

Replies
Those pictures are Gluten Porn!
I am determined to "malt" some pumpkin of my own. Do you have any advice other than the low temperature over 24 hours or so? I will be using a domestic electric oven.
Thanks for the wonderful post!
Best,
Erich
Oh my.... This looks amazing. I'm going to try this this weekend. We have some butternut squashs at the moment.
Do you reckon it might work well with Haikado pumpkin , is there any reason that you only use butternut.
also I agree with Erich (sauerflauer) the pictures are pure visual divinity. The balling picture has made me jealous this morning.