
This “recipe” assumes a slightly-better-than-beginner skill set. All techniques are easily searchable on YouTube. Sourdough starter is white and at 100% hydration. I fed it VERY late at night and began this at around 9am the following morning. Assume that the dough should be covered when resting and that everything is at room temp (unless stated otherwise). This is my first recipe so would love to know how this turns out for others!
The Dough
| Ingredient | Metric | Imperial | Baker's Percentage |
|---|---|---|---|
| Very strong bread flour | 950 grams | 33.54 oz | 95.00% |
| Rye flour | 50 grams | 1.77 oz | 5.00% |
| Water | 750 grams | 26.48 oz | 75.00% |
| Salt | 20 grams | 0.71 oz | 2.00% |
| Sourdough starter | 100 grams | 3.53 oz | 10.00% |
- Total Flour Weight:
- 1000 grams
Percentages are relative to flour weight (flour equals 100%) and every other ingredient is a percentage of this. Flour from the starter is not counted. This recipe was originally in grams and has been automatically converted to other measures.
1. 950g Canadian very strong bread flour (protein content is 14.9%)
50g rye flour
700g water
Mix together well (fold in on itself until you get a nice ball). Leave to autolayse for 1 hour.
2. Add 100g of active (not liquid) sourdough starter and 200g of mixed seeds. Mix well to combine (you can mix by stretching and folding at this point). Prepare your bassinage solution in a small bowl by adding 50g of boiling water to 20g of salt and mixing until a lot of the salt has dissolved. Rest for half an hour (this will give the water time to cool). Bassinage is a French term that means to add water. It’s normally done to help strengthen the gluten by giving it an easier route to travel through the dough.
3. Tip the salty water onto the dough and poke it in with your fingertips. At this point the dough may take on a strange lumpy wet consistency. Power through. When you feel like most of the water has been mixed in, tip the dough out onto a dry surface and do a few slap and folds to mix thoroughly and to help the dough form a ball shape. Leave for 30 mins.
4. Tip the dough out onto a work surface. It should keep its shape. Test it’s elasticity by stretching it out into a sheet as far as it’ll go. Fold it back in on itself and slap and fold a few times (5 or 6) then return to the bowl for another half an hour. It should be quite firm still. At this point it should be passing the windowpane test.
5. 3 sets of stretch and fold with half an hour intervals. The dough should be holding its shape. If it does not, add another set of stretch and folds until it does.
6. Bulk ferment for another 2/3 hours - this should bring the total bulk ferment to 5/6ish hours. Keep an eye on your dough. You are looking for small bubbles to have formed on the surface. They will be difficult to spot because of the seeds. Once you see these bubbles, you are ready for shaping. The dough does not need to double in size. In reality, you are knocking air out from your dough each time you handle it. If you wait for your dough to double, it is likely that it has over fermented and will be difficult to shape and you will not get any oven spring. This is because sourdough culture has both bacteria and yeast. Bacteria feeds off the gluten to give the sour taste. So whilst you do want them to feed a little, it is important that they are not given an opportunity to feast. Bacteria and yeast will both keep going to work at very low temperatures, but at a much more manageable pace. This is why the dough is left in the fridge for a very long period of time. Another good indicator of when the bulk has finished would be to look at what your refreshed starter is doing, assuming when you added starter to your dough, you fed your culture. When your starter has almost reached its peak, your dough will be ready. The starter, although a good indicator, will be behaving differently to your dough. It is 100% hydration so everything will be looser and air pockets can form more easily. (This is why we aren’t looking for the dough to have doubled)
7. Pre shape. Tip your dough out onto a dry work surface and slice in two with a bench scraper. Pre shape using the bench scraper to first fold the dough in itself, flip, and then drag into a tight ball shape. You are doing this to strengthen the gluten. Rest for 30 mins.
8. Shaping. Shape as boule/batard and place into a floured basket, cover and leave in the fridge for at least 12 hours, but no longer than 24.
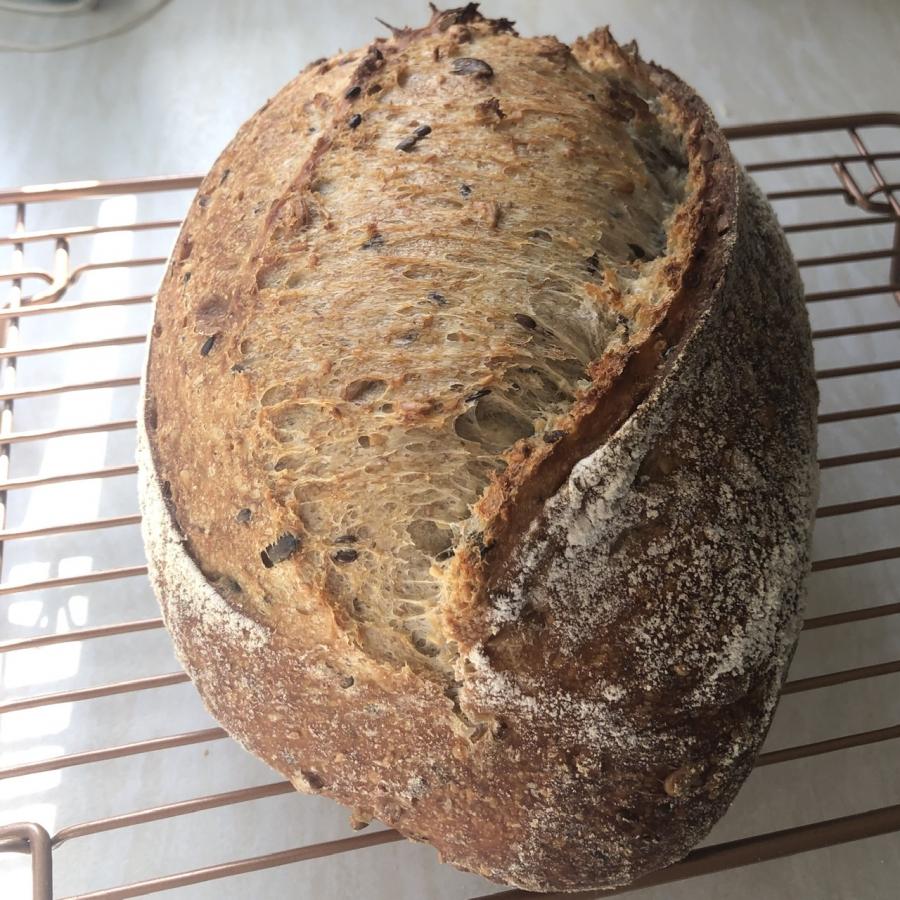
9. Bake - heat your oven with a Dutch oven inside to 250c or as hot as your oven goes. Leave for at least 30 mins to ensure your Dutch oven is very hot. Tip your dough onto some greaseproof paper and score. Place the dough into the Dutch oven and bake covered for 20 mins. After 20 mins, drop the temp to 200 and bake uncovered until the dough is golden brown and sounds cooked. Return the Dutch oven to your oven and increase the heat back up to 250. Repeat for your second loaf.
Replies
I'd like to bake my bread the same day as I make it. Can I bake it? Once in the banneton can it rest and rise then put it in a pre heated dutch oven? Help please.